
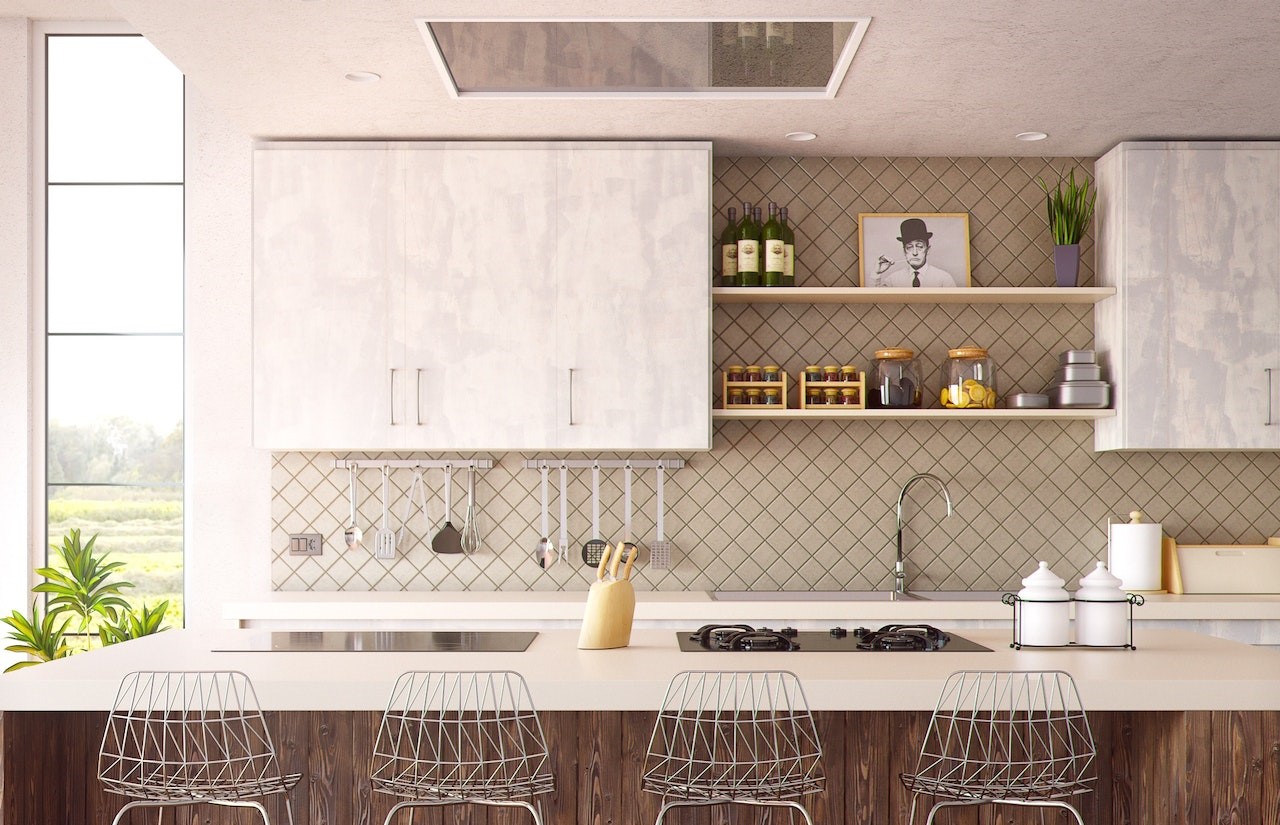
Creatively recycling kitchen cabinets is undoubtedly one of the most rewarding ways to do so: that's why ideas are so abundant. After all, it would be a real shame to throw the wood they're made of into the trash. Much more rewarding is to reuse them and give them a new lease of life. True. But how? Below we offer a list of excellent ideas.
How can you reuse kitchen cabinets in a useful and creative way? Recycling comes to our rescue, allowing us to create a comfortable kitchen bench or a spacious work surface on which to pursue our hobbies. But that's not all: here's everything you can create.
Index of topics
Bench with old wall unit
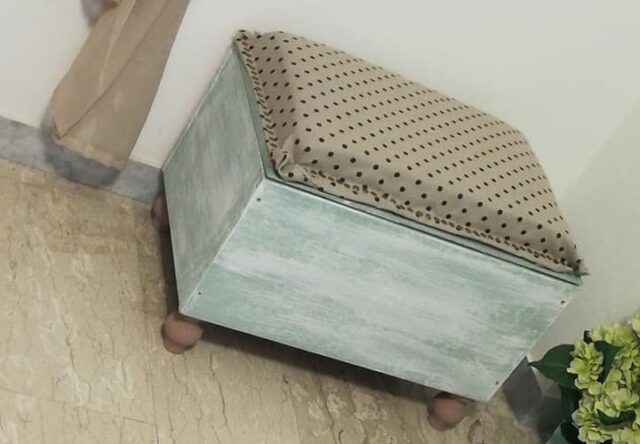
Photo credit | Facebook Casa Chic sg style
We'll begin our list of creative cabinet recycling ideas with a DIY bench . To make one, simply refresh its appearance by painting the surface and waiting for it to dry. Then, place the old cabinet horizontally and provide it with a comfortable cushion.
Open cupboard
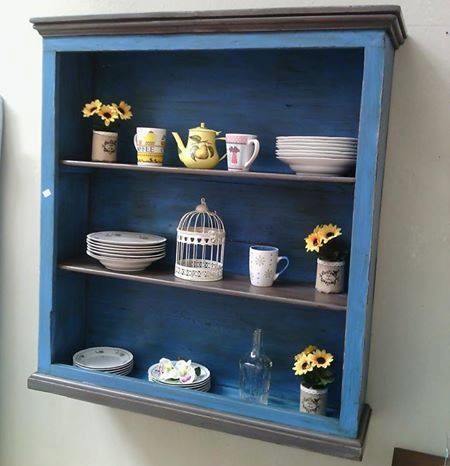
Photo credit | Facebook Tremolanti Lo Store Arredamento e Mochi
By removing the doors, you can paint the entire surface of your wall unit a bright color, equip it (if it doesn't already have any) with shelves and use it as an open cupboard, to store cups , plates, bottles and whatever else you like.
Dollhouse
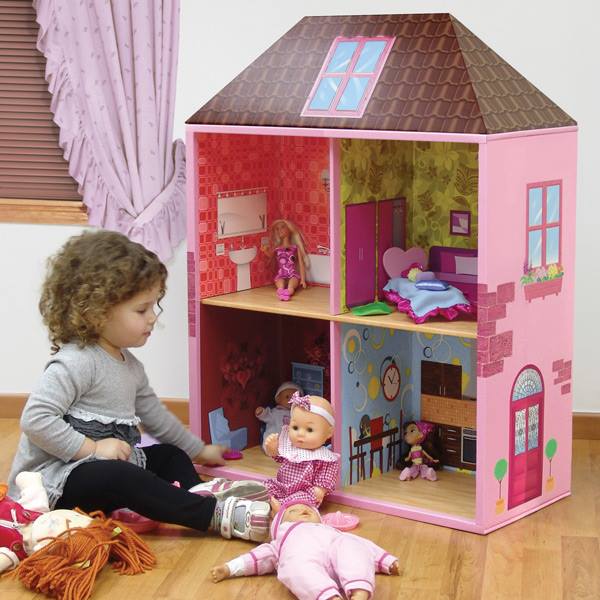
Photo credit | Facebook DIY Mania
With a larger cabinet, after removing the doors, you can create a splendid dollhouse . Simply apply colored contact paper across the entire surface (or, alternatively, paint it yourself), then furnish the rooms with miniature furniture to delight the children.
Smart working office
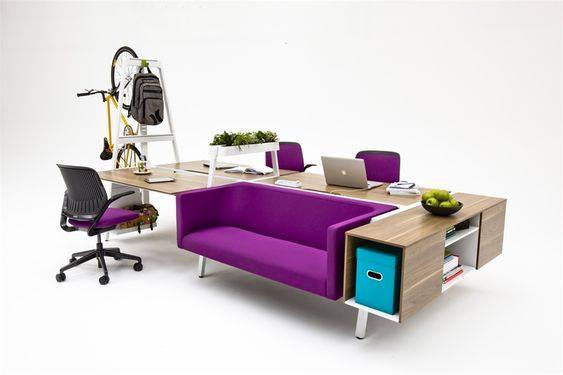
Photo credit | Facebook Creative Edge
Another creative way to repurpose kitchen cabinets is to repurpose them into a home office. Simply add a desk top and some shelves, and you'll have a smart working space at almost no cost. Unless, of course, you're looking to embark on a more ambitious project like the one pictured above.
Mini bar with old wall units
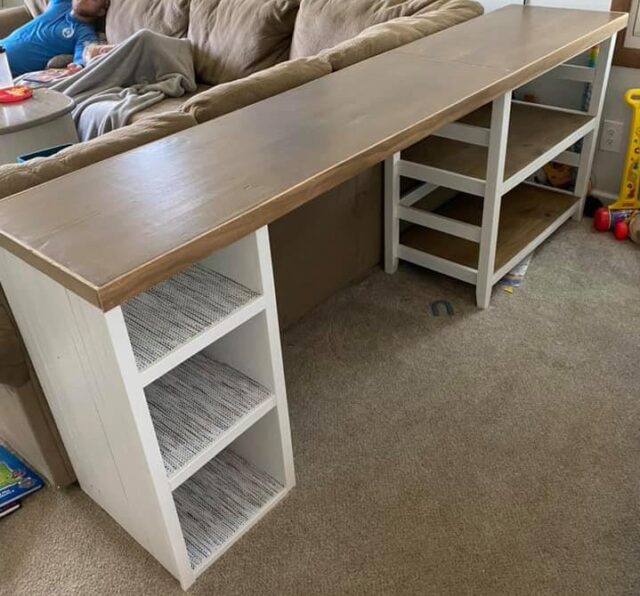
Photo credit | Facebook Restore With Rachel
How about transforming your old kitchen cabinets into a bar? Use one or two old cabinets as a base and place a long wooden shelf on top to serve as a countertop. Use the cabinets to store liquor bottles and glasses. It's ready in just a few easy steps!
Worktop
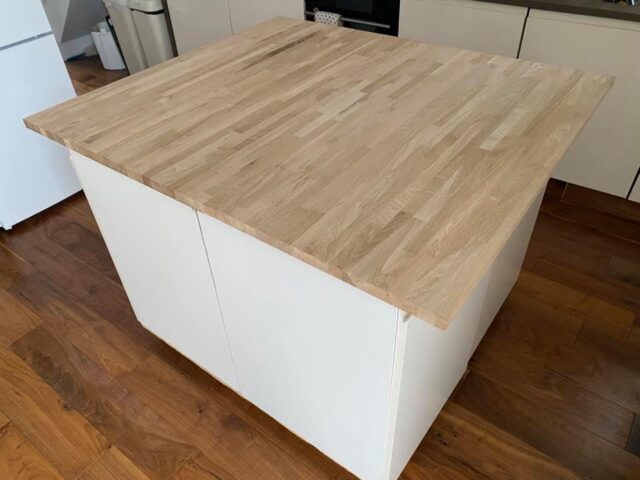
Photo credit | Facebook Dimitri DS
Repurpose old cabinets to create a workspace where you can pursue your hobbies. You can use the cabinets you need to reuse as a base and a wooden board of the right size for your needs (and your space) as a countertop.
Kneading trough
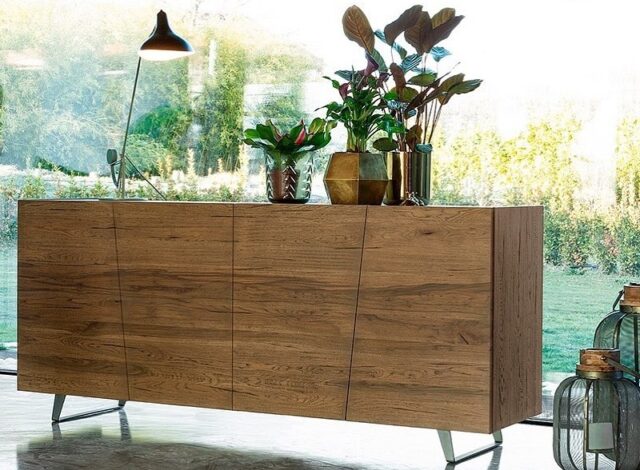
Photo credit | Facebook Mobili Casa Vog Italia
Transforming a wall cabinet into a piece of furniture has never been easier. With a series of 3-4 wall cabinets, you can create a practical sideboard for your living room. Revive the wood, cover it with special adhesive covers to create a custom look, and complete the look with sturdy legs.
Living room shelf
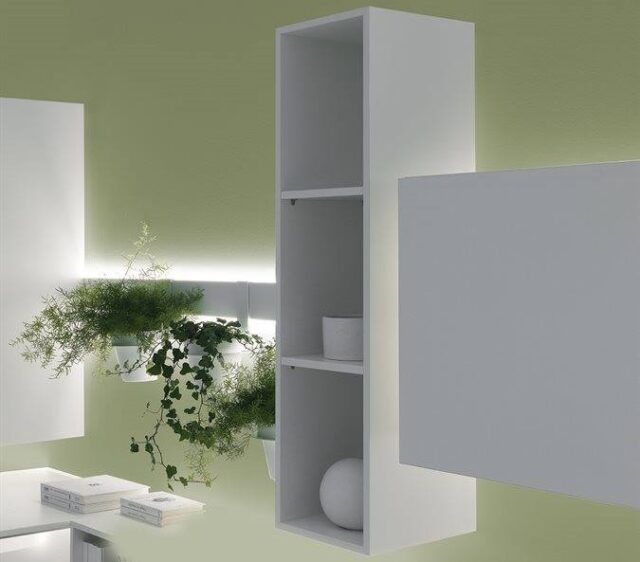
Photo credit | Facebook Craos
With a slightly narrower cabinet, you can create a stylish shelf for your living room. It doesn't require any additional work and can be used to display vases, candles, or small plants, adding a touch of sophistication to the space.
Library
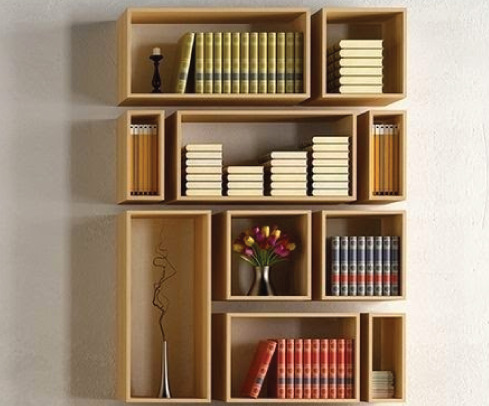
Photo credit | Facebook Self – The Whole World of DIY
If you have several wall cabinets of various sizes, you could take advantage of creative recycling to create a modular bookcase like this one. Remove both the doors and the backs of the wall cabinets to create rectangles and squares to hang neatly on the wall. Then, fill them with books.
Shoe
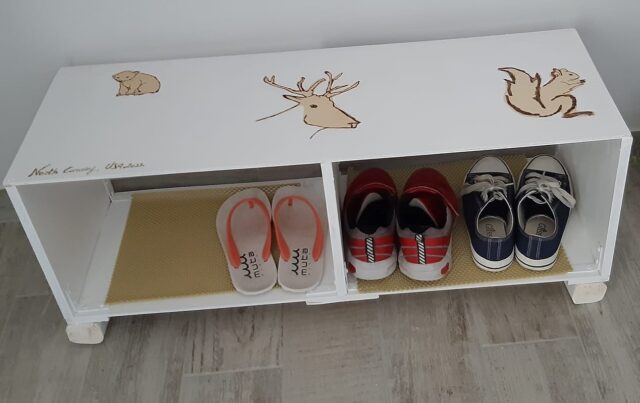
Photo credit | Facebook Sonounafrananelfaidatemaciprovo.wordpress.com
Last idea for how to reuse kitchen cabinets? Turn them into a shoe rack ! Remove the doors and back panels, turn them over, and glue them together with screws or strong glue. Decorate them as desired with stickers or simply paint them, and voilà! Ready to use!
Read also:
- DIY bag made with recycled string
- Styrofoam: 15 Ideas for Recycling It
- What to do with old rope: 10 ideas
- Creative recycling: how to decorate your home with jute
Want to see a selection of our news?
- Sign up to our newsletter clicking here;
- We are also up Google News , activate the star to add us to your favorite sources;
- Follow us on Facebook, Instagram e Pinterest.